How to Set Up a Wireless Printer – Easy Guide
A wireless printer allows you to print from your computer, phone, or tablet—without needing cables. If you’re setting one up for the first time, follow these clear steps to connect your device and start printing.
✅ Benefits of Wireless Printing
-
Fewer Cables – Keep your workspace neat and organized
-
Flexible Access – Print from multiple devices on the same network
-
Convenient Sharing – Ideal for homes or small office environments
-
Wi-Fi Printing – Send print jobs from anywhere within your network range
📶 How to Connect a Printer to Wi-Fi
There are two common ways to connect your printer wirelessly:
🔹 Option 1: Using the Printer Menu (If Available)
-
Turn on your Wi-Fi router
-
On the printer, go to Wireless Settings
-
Select your Wi-Fi network from the list
-
Enter your network password
-
Wait for a success message or confirmation light
🔹 Option 2: Using WPS (For Compatible Devices)
-
Turn on the printer
-
Press and hold the WPS button on the printer (if available)
-
Within 2 minutes, press the WPS button on your router
-
Wait for the light on the printer to turn solid or show a connection status
💻 How to Add the Printer to Your Computer
After connecting to Wi-Fi, you’ll need to add the printer to your laptop or desktop:
✔️ On Windows:
-
Go to Settings > Devices > Printers & Scanners
-
Select Add a Printer or Scanner
-
Choose your printer from the list
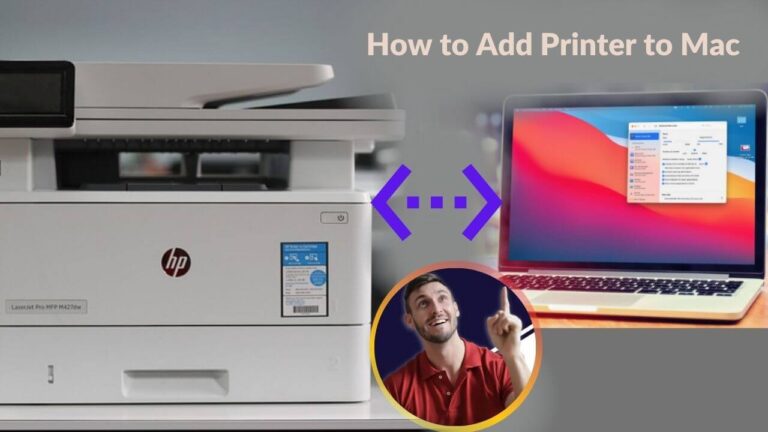
✔️ On macOS:
-
Open System Settings > Printers & Scanners
-
Click the + symbol to add a new printer
-
Select your printer and follow the prompts
Note: For best results, ensure your computer and printer are on the same Wi-Fi network.
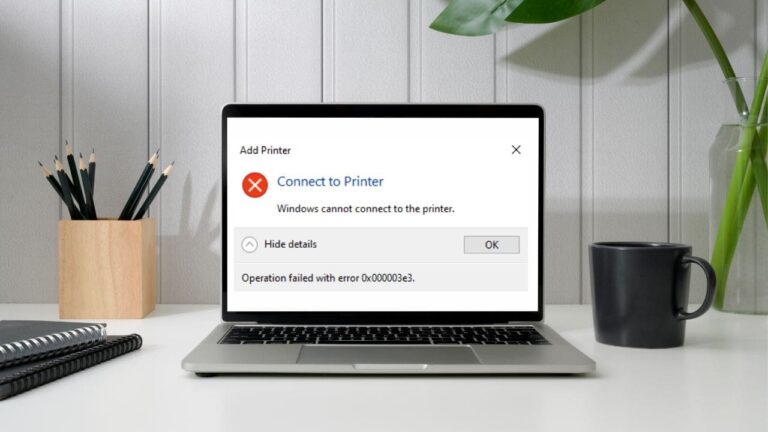
Note: Still Stuck? It might depend on the specific printer model you're using.